Setup Code Builder(Beta) in Developer Org ⚡️
Learn how to set up Salesforce Code Builder in your Developer Org
Introduction
The long wait is over 🎊, Salesforce Code Builder is now available! As per writing, the Code Builder is on Open Beta possible there will be changes when it becomes GA. This is a game-changing tool for us as a Salesforce Developer where we can directly code in the browser in just one click 😁. Code Builder runs on top of AWS which brings us the best tooling and performance of fully working developer tools within your browser. Without further ado let's start with how to set up Code Builder in your Developer Org 🧑💻.
Start blogging with Hashnode
Resources
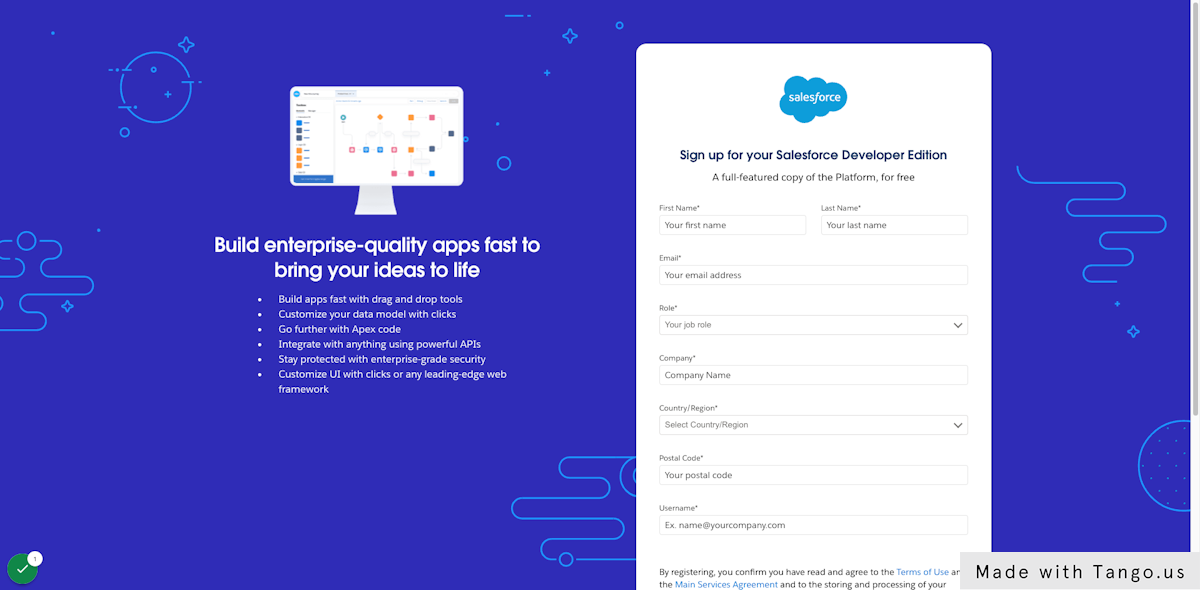
Sign up for Developer Org: https://developer.salesforce.com/signup
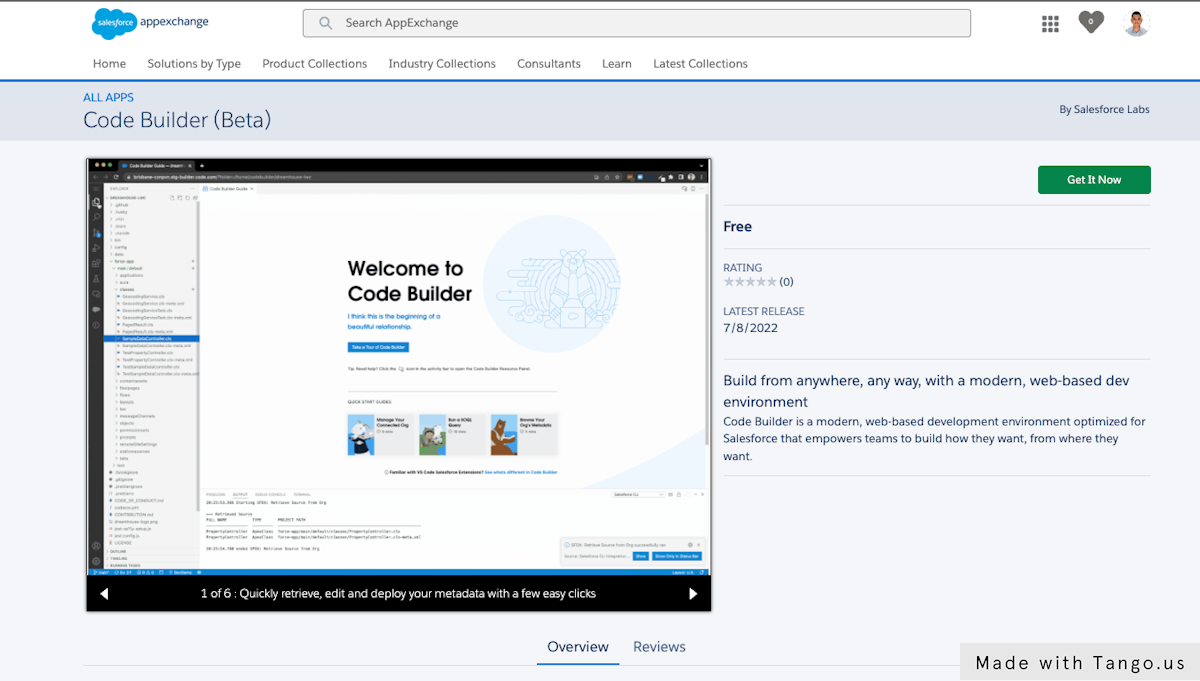
AppExchange Link: https://appexchange.salesforce.com/appxListingDetail?listingId=a0N3u00000Qsdi5EAB
Code Builder Overview: https://developer.salesforce.com/tools/vscode/en/codebuilder/about
Get Started
1. If you don't have a developer org yet, you can sign up from this link https://developer.salesforce.com/signup
2. Install the Code Builder(Beta) from the AppExchange by clicking Get it Now button.
3. Choose your developer org where you want to install your Code Builder(Beta).
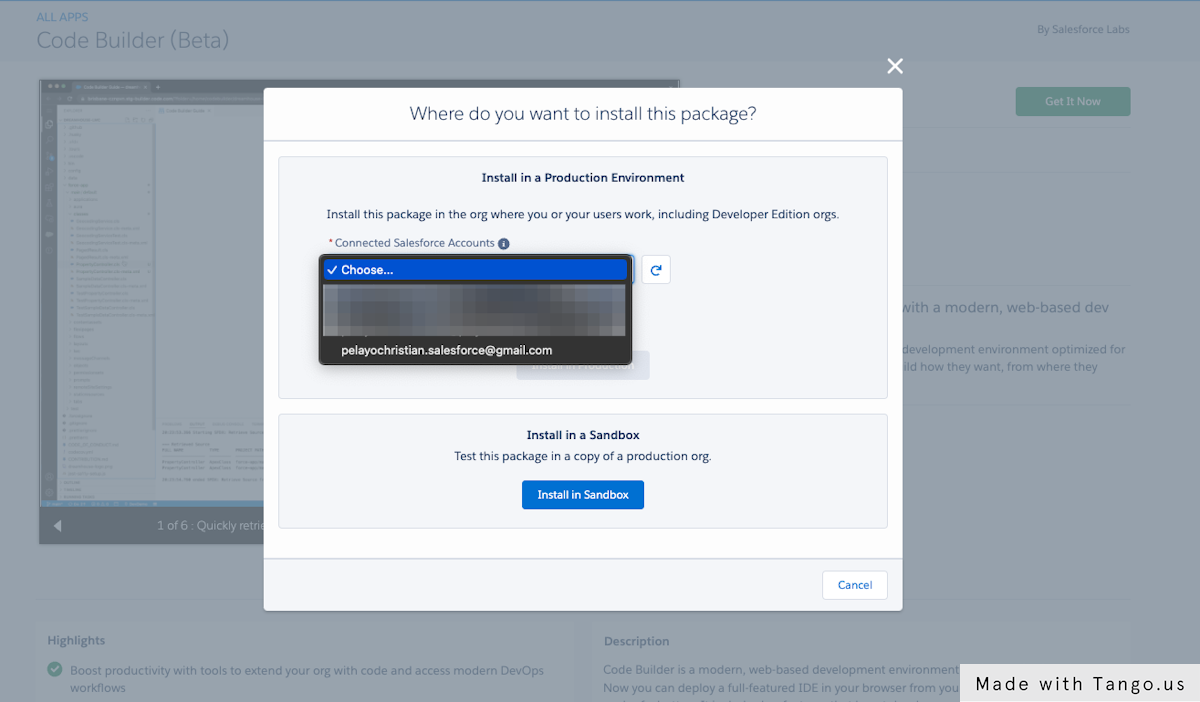
4. If you can't see your account, make sure you connect your developer org to your Trailblazer Accout.
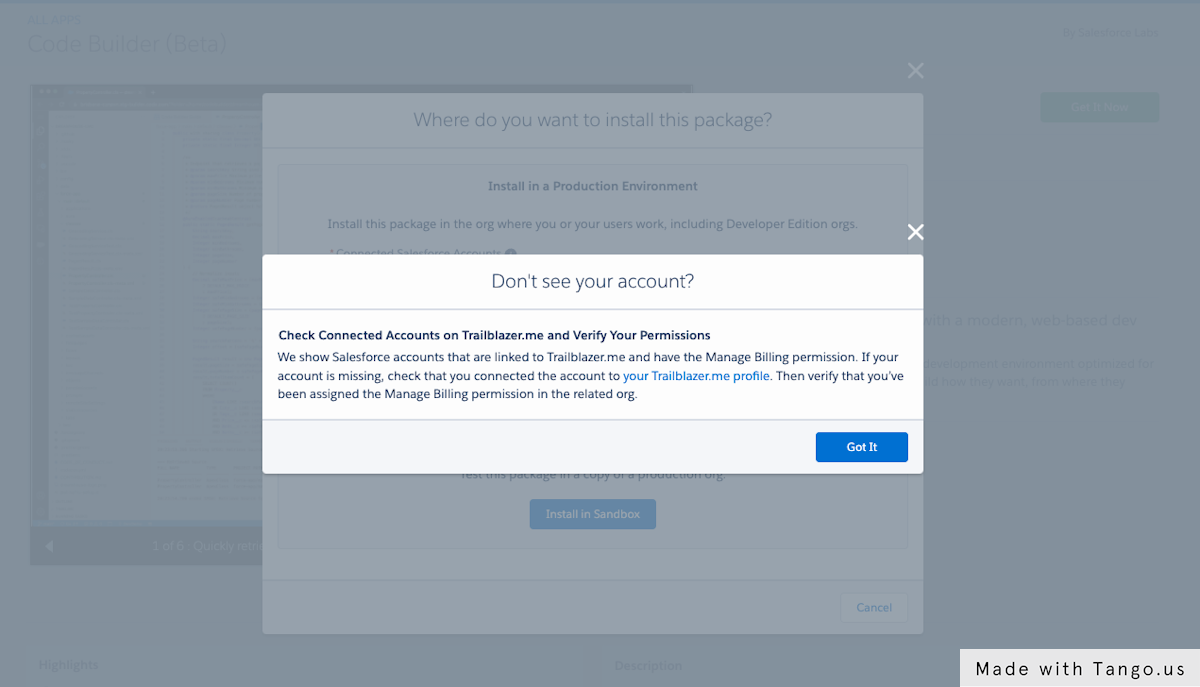
5. To connect your Developer Org to your Trailblazer account click on this link: https://trailblazer.me/

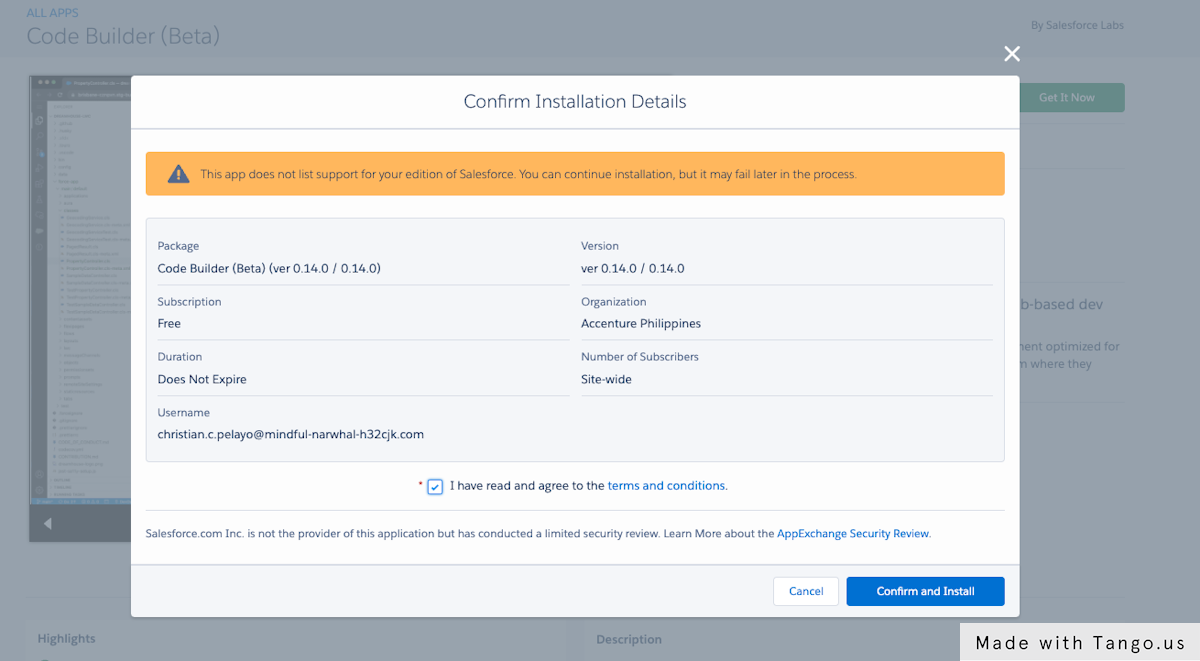
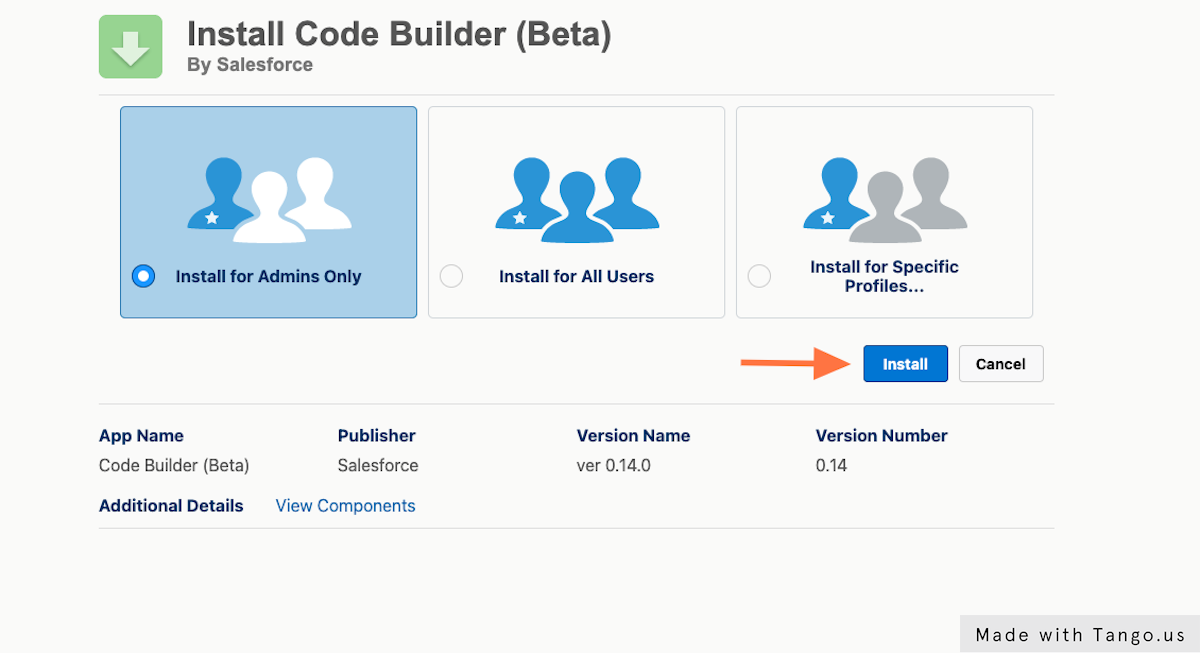
6. Confirm and your installation details, make sure you agreed to the terms and condition then click Confirm and Install.
7. Select which user(s) you install the Code Builder(Beta), for this we can install for admins only then click install.
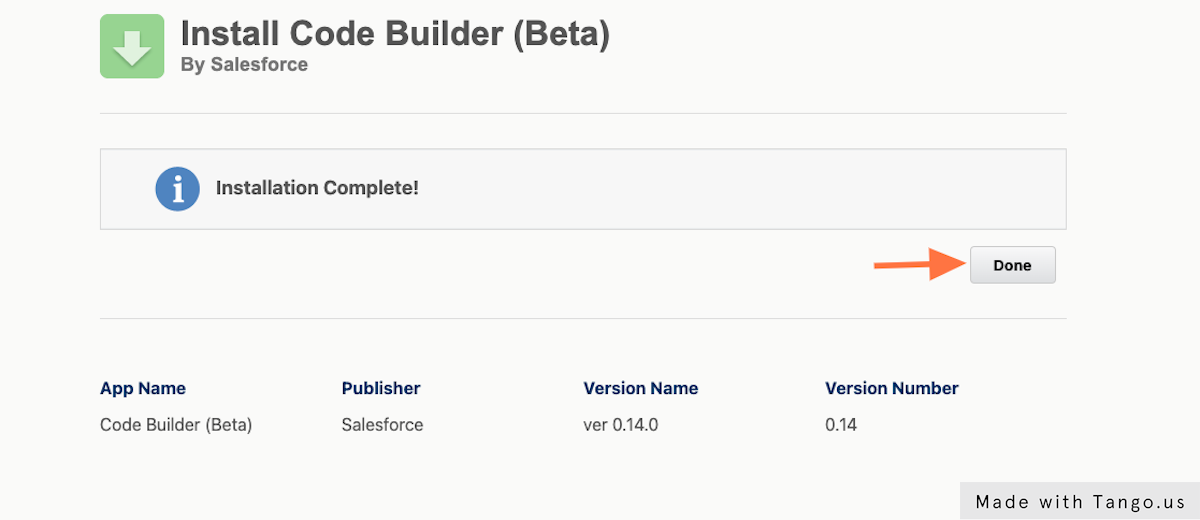
8. Once the installation is completed, click Done then go to your Developer Org Setup.
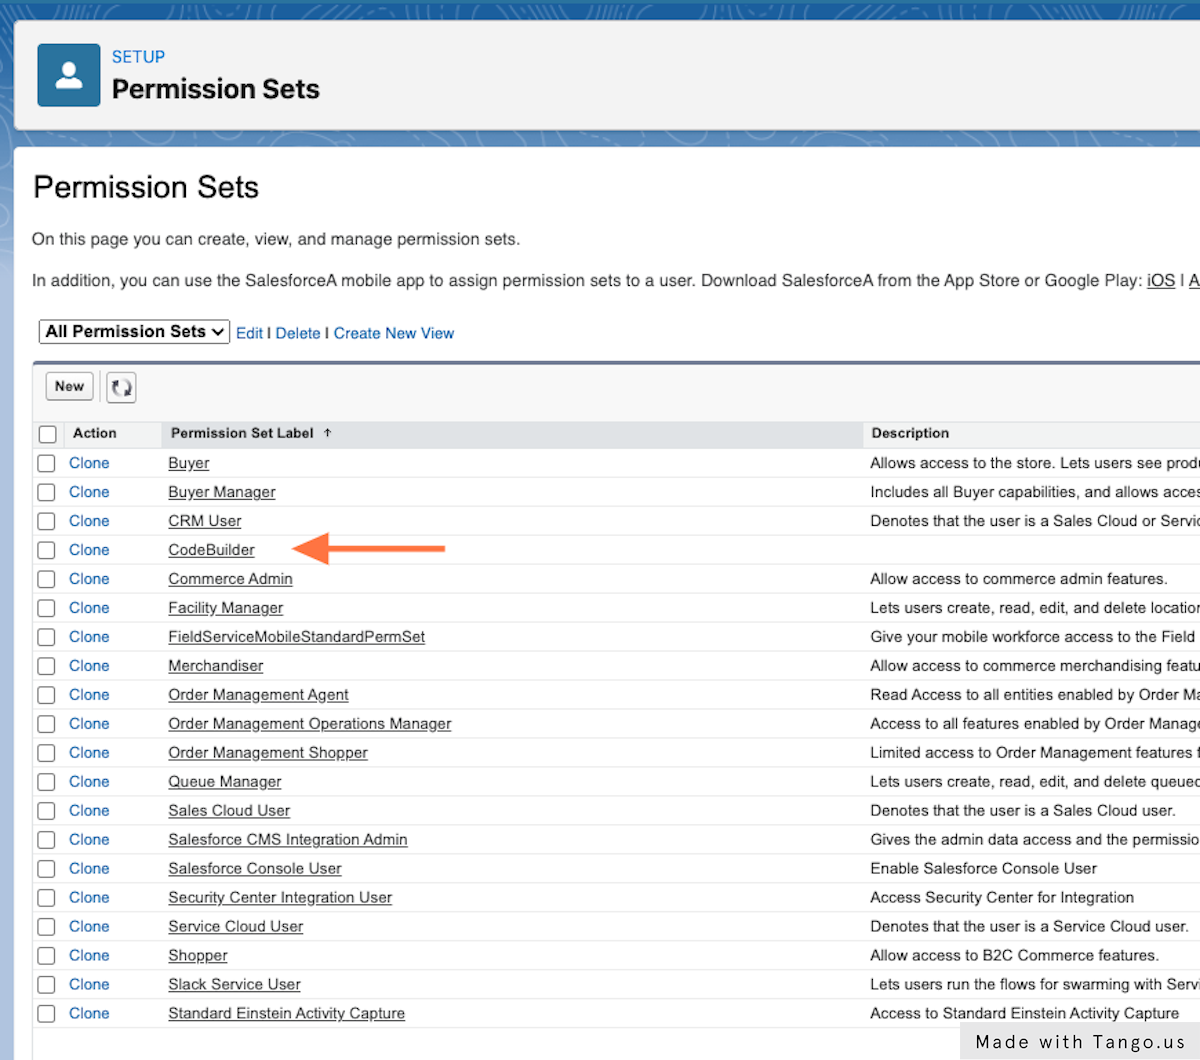
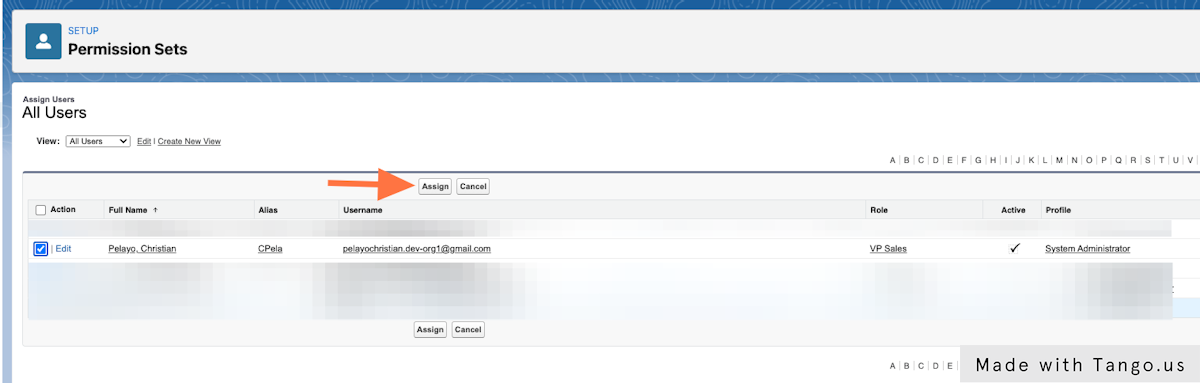
9. In Setup navigate to Permission Sets and click Code Builder.
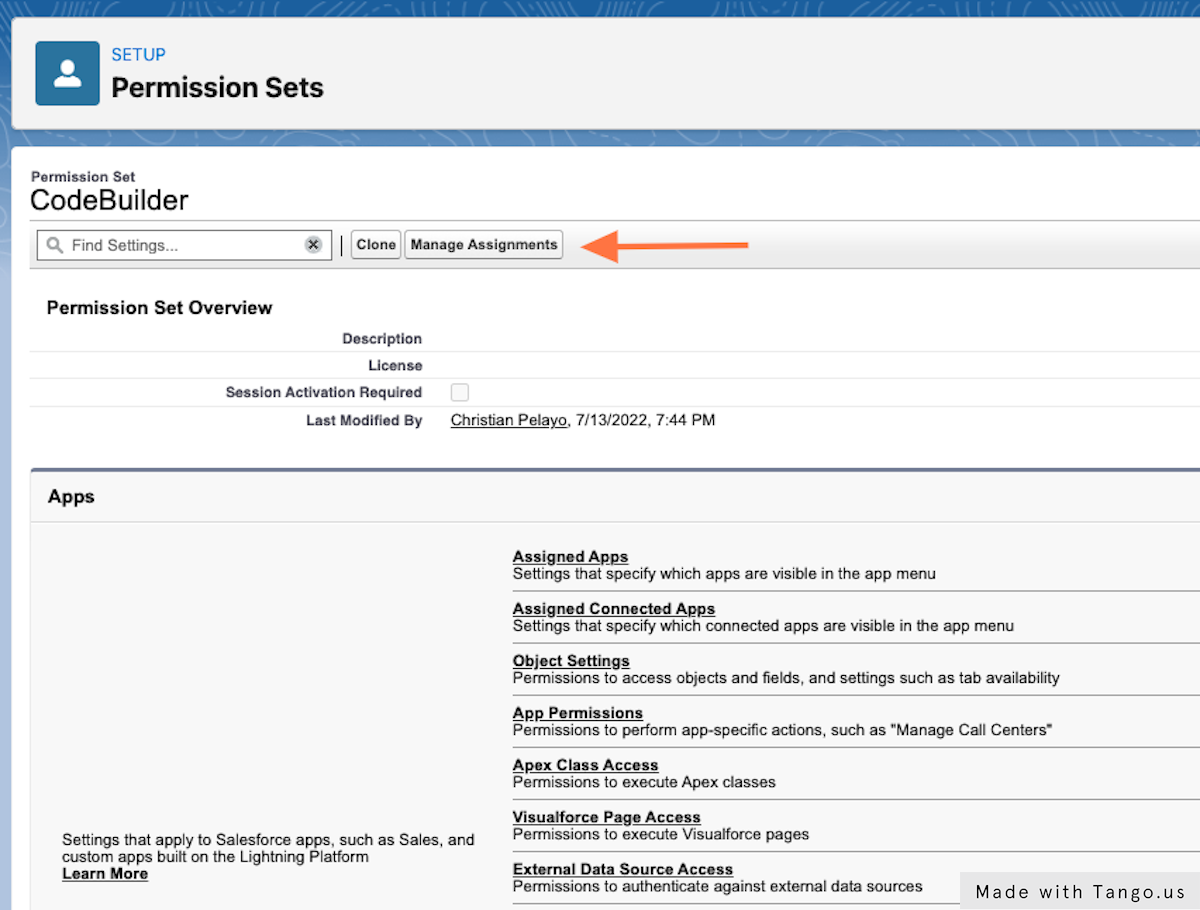
10. Click Manage Assignments then Add Assignments.
11. In Adding Assignments, assign the user which you can access the Code Builder(Beta).
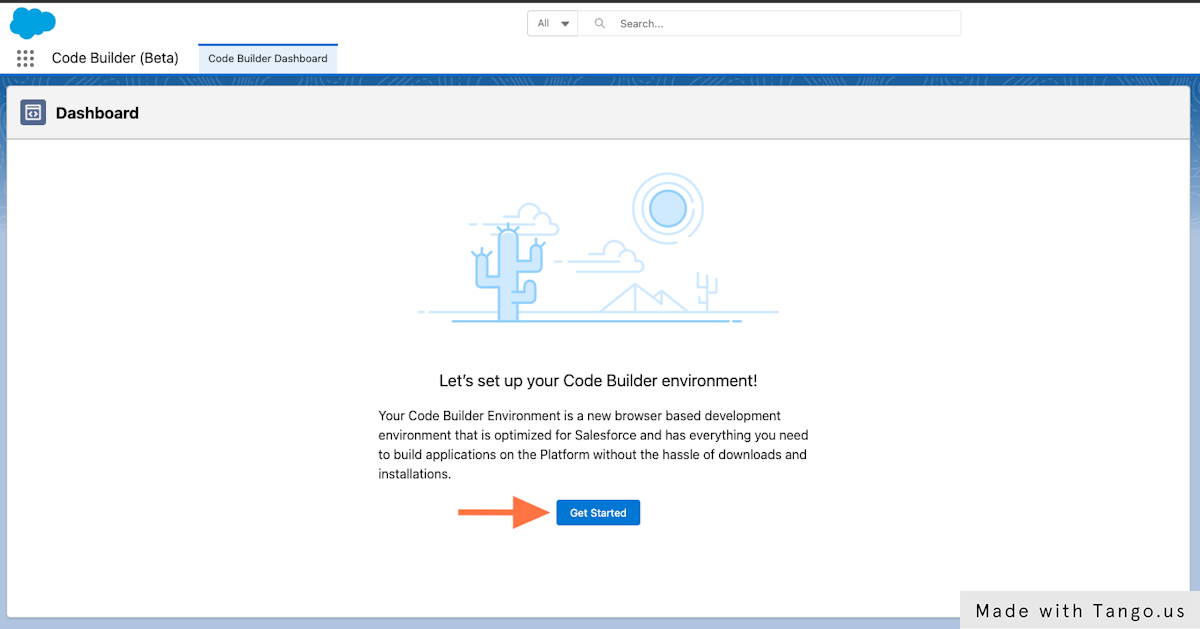
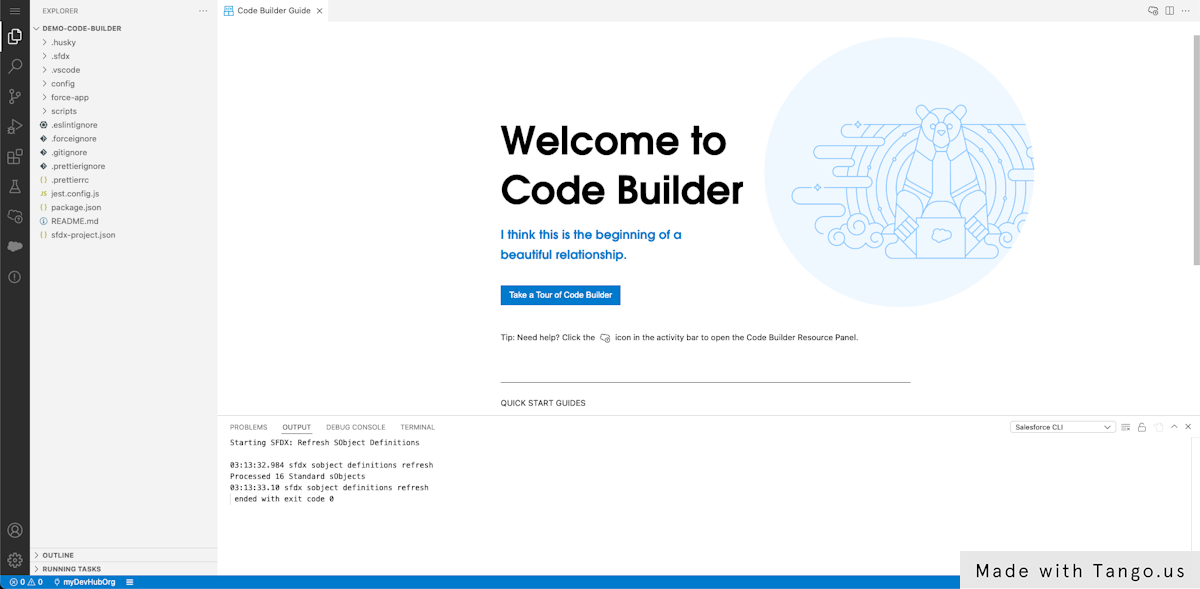
12. All the needed configuration is done, next is go to App Launcher and type Code Builder and click. It will redirect you to the Code Builder App and Click Get Started.
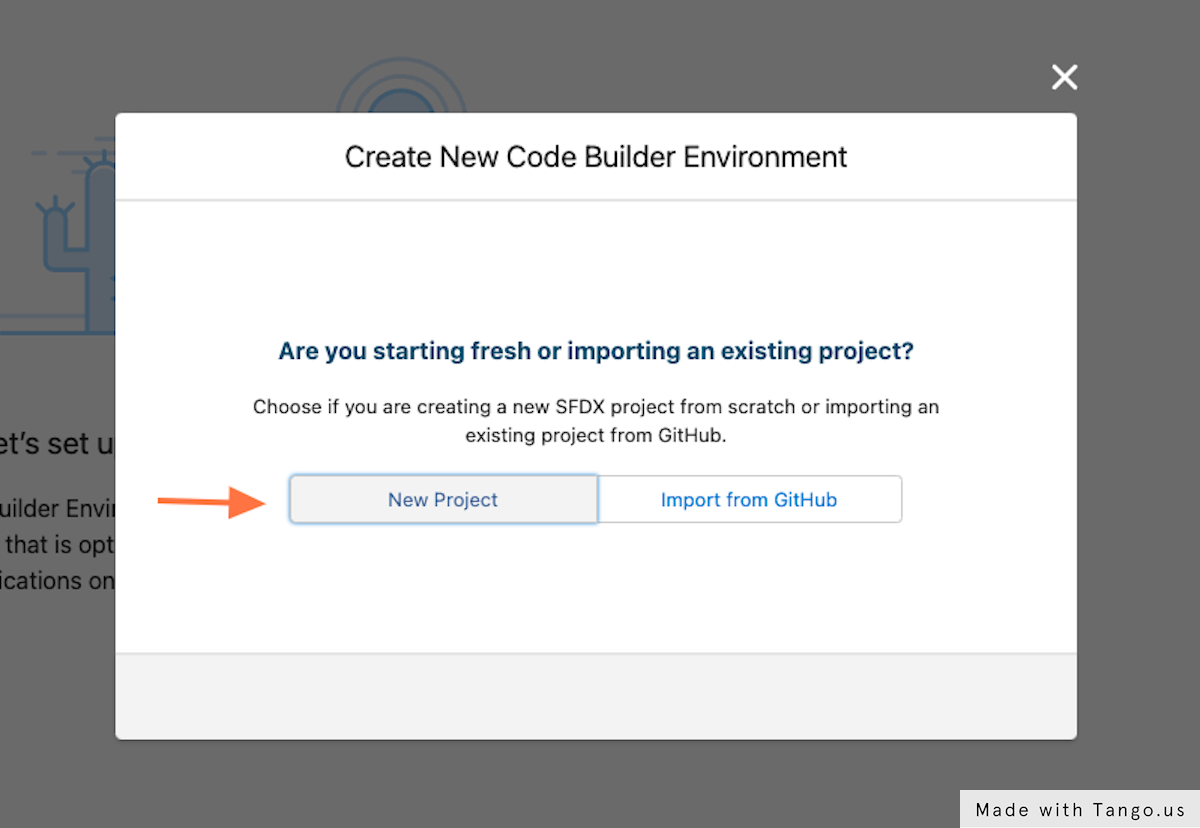
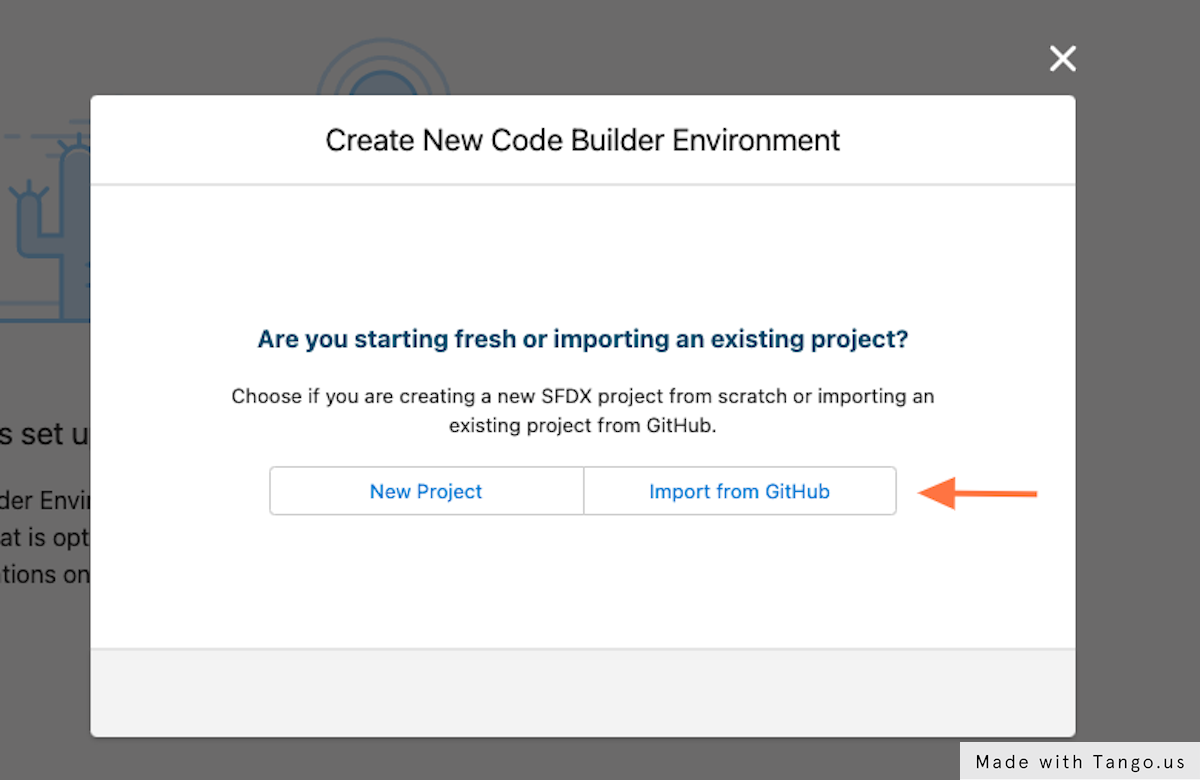
Create Environment Using New Project option.
13. In getting started, two ways to create new Code Builder environment. Let check on the New Project option first.
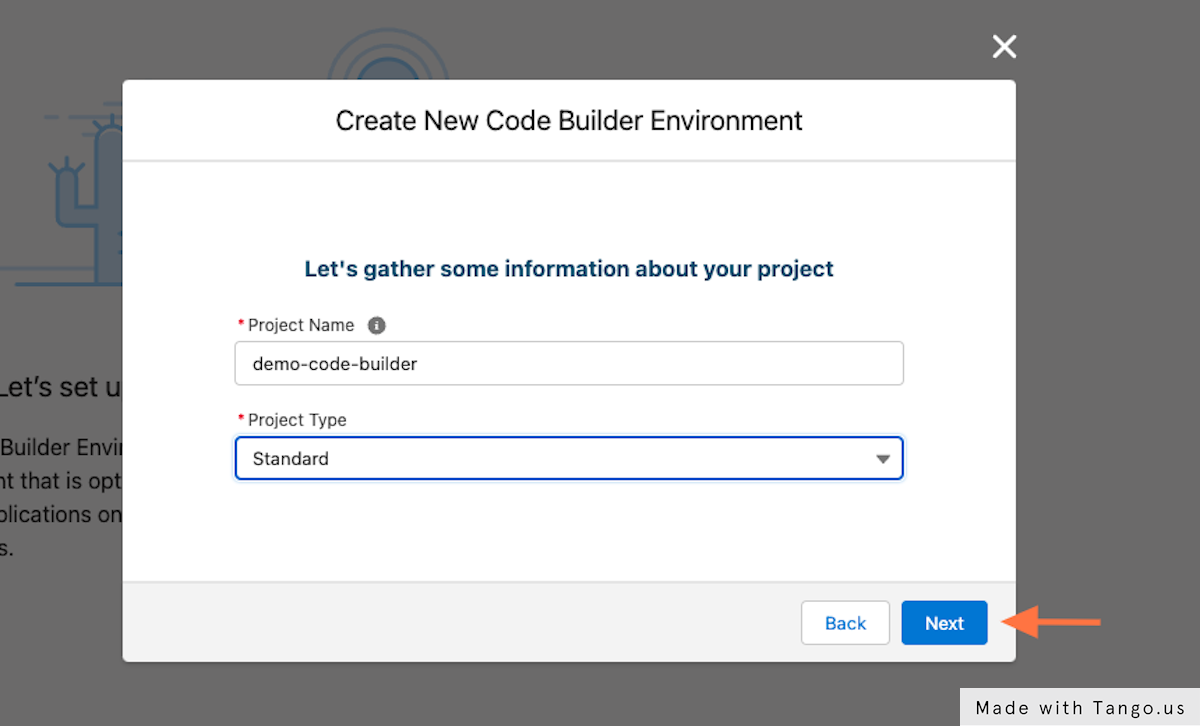
14. Next is provide the needed details for the new project fill-in the Name and Project Type then click Next.
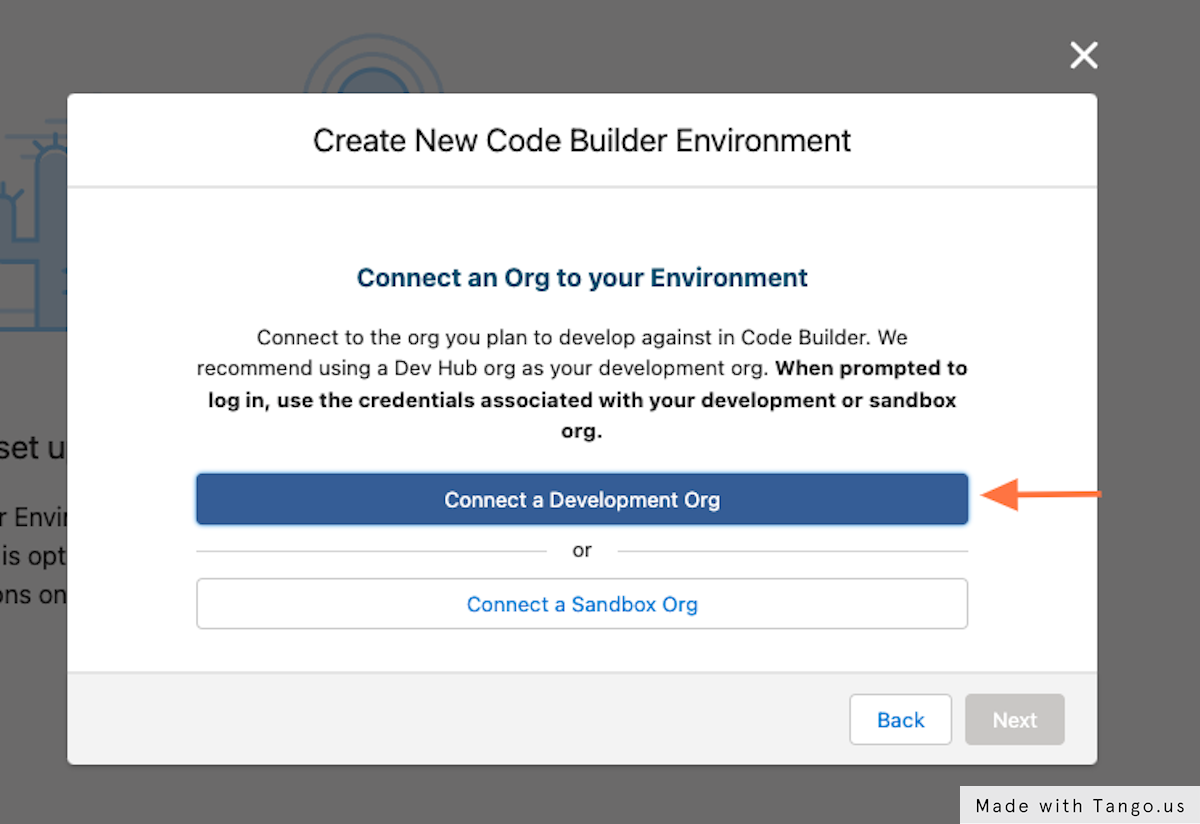
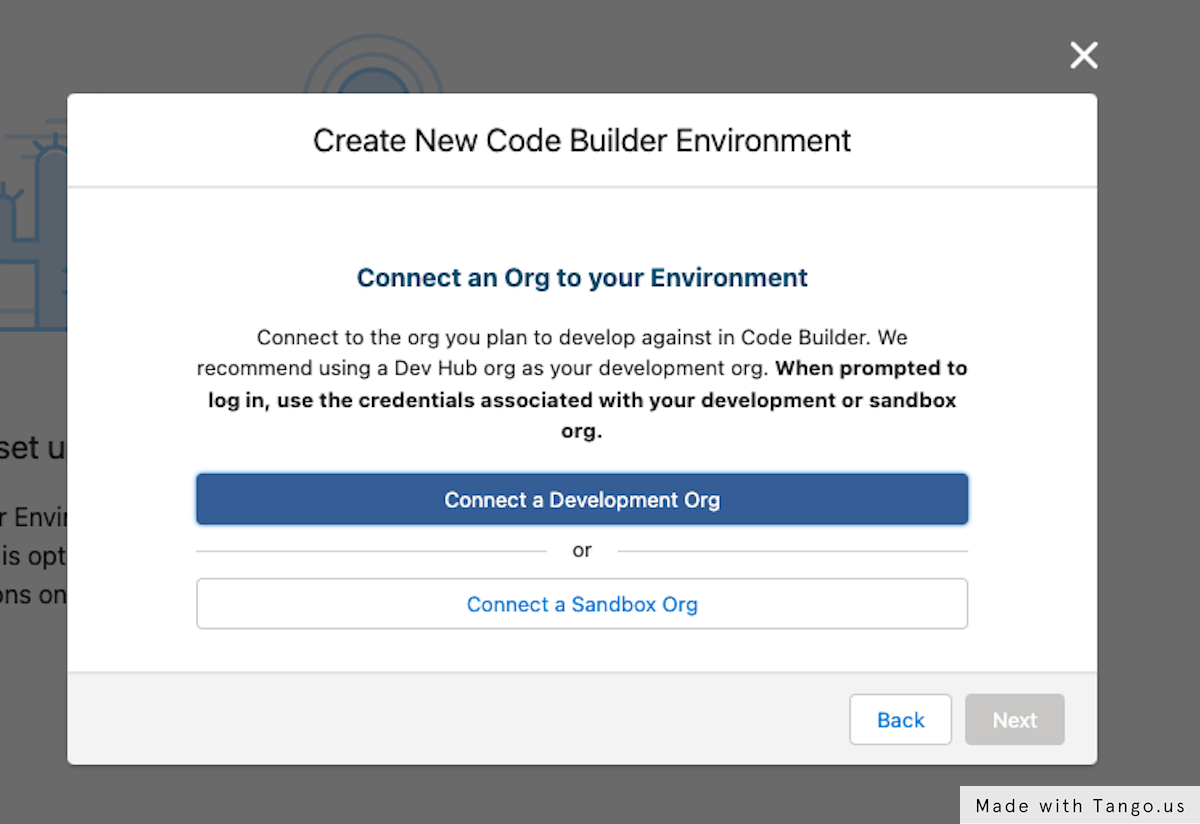
15. Click Connect to a Development Org.
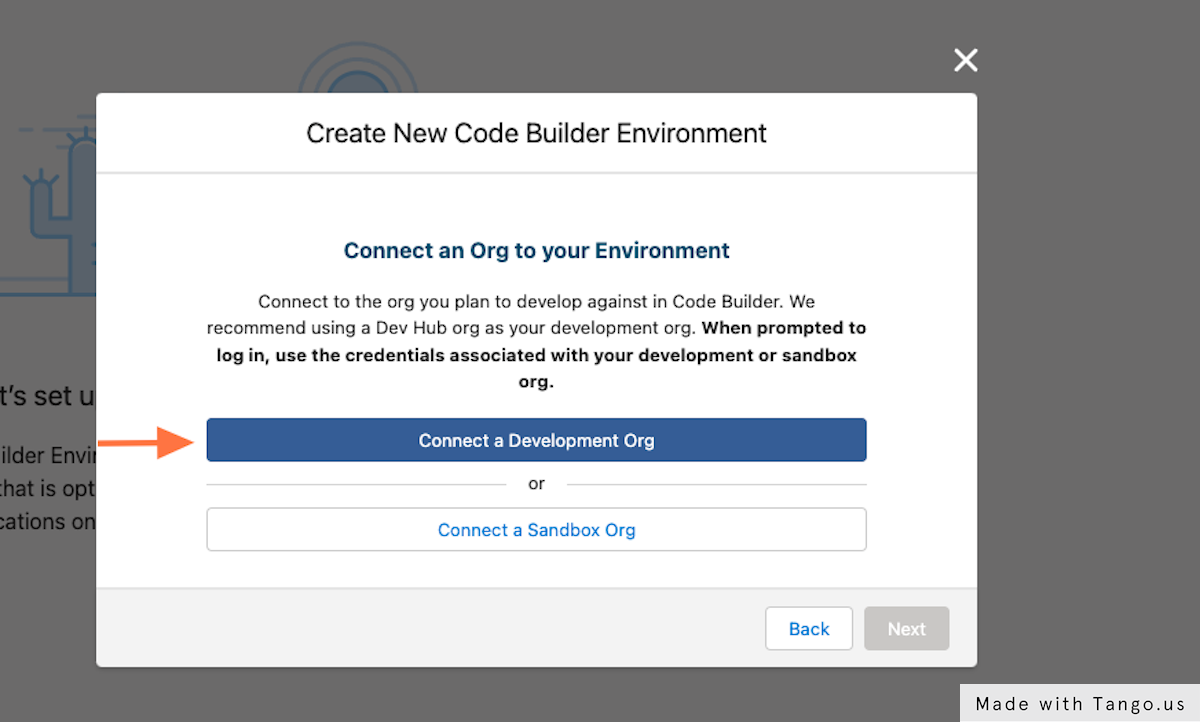
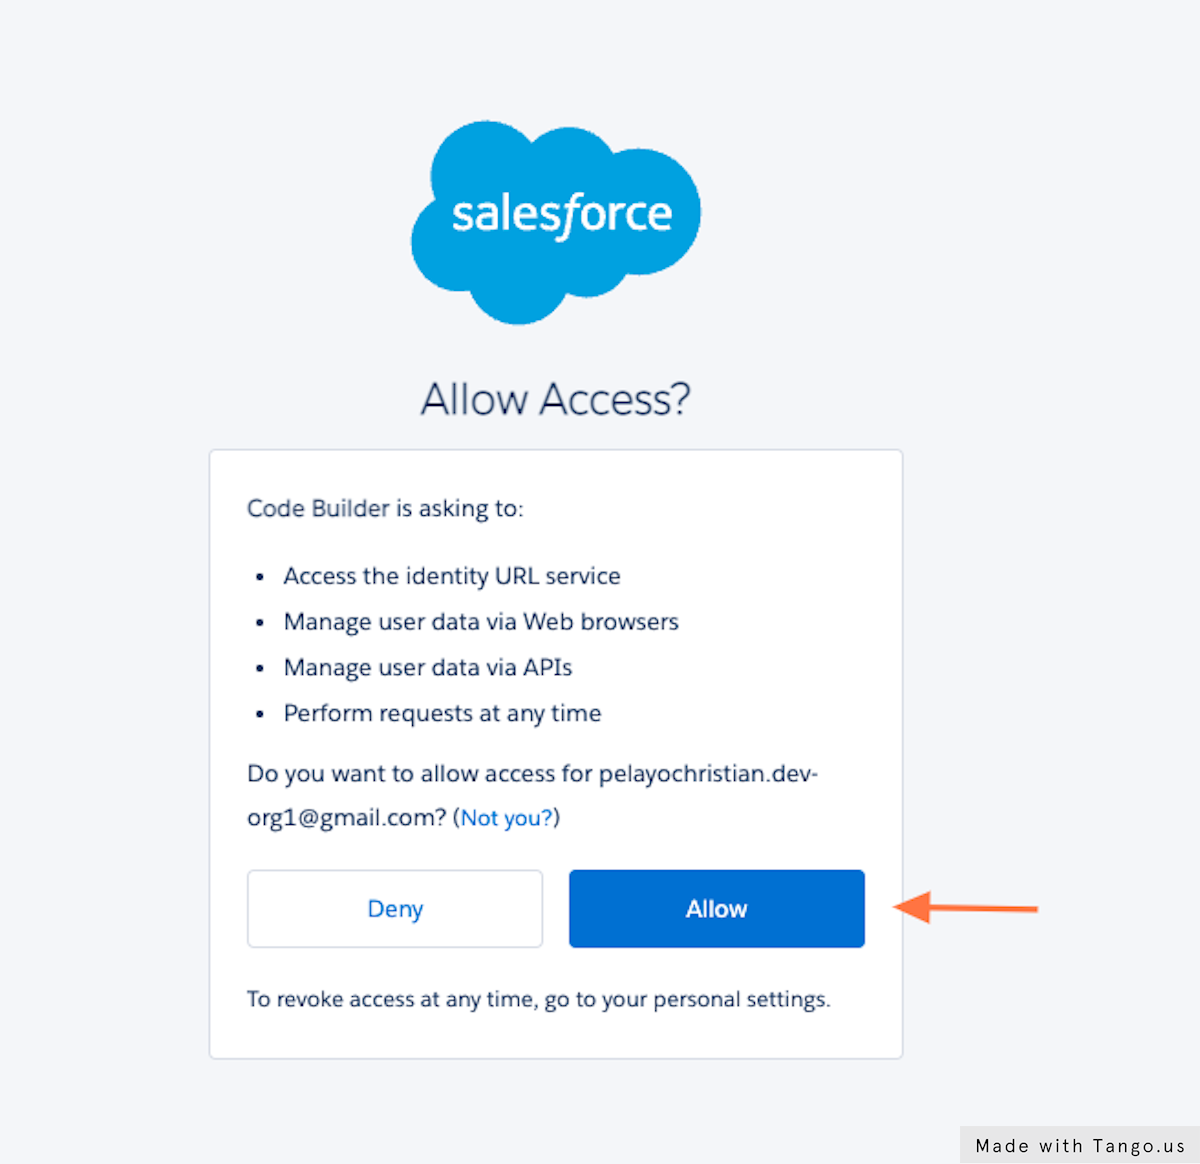
16. Allow Code Builder to access the needed resource by clicking Allow button.
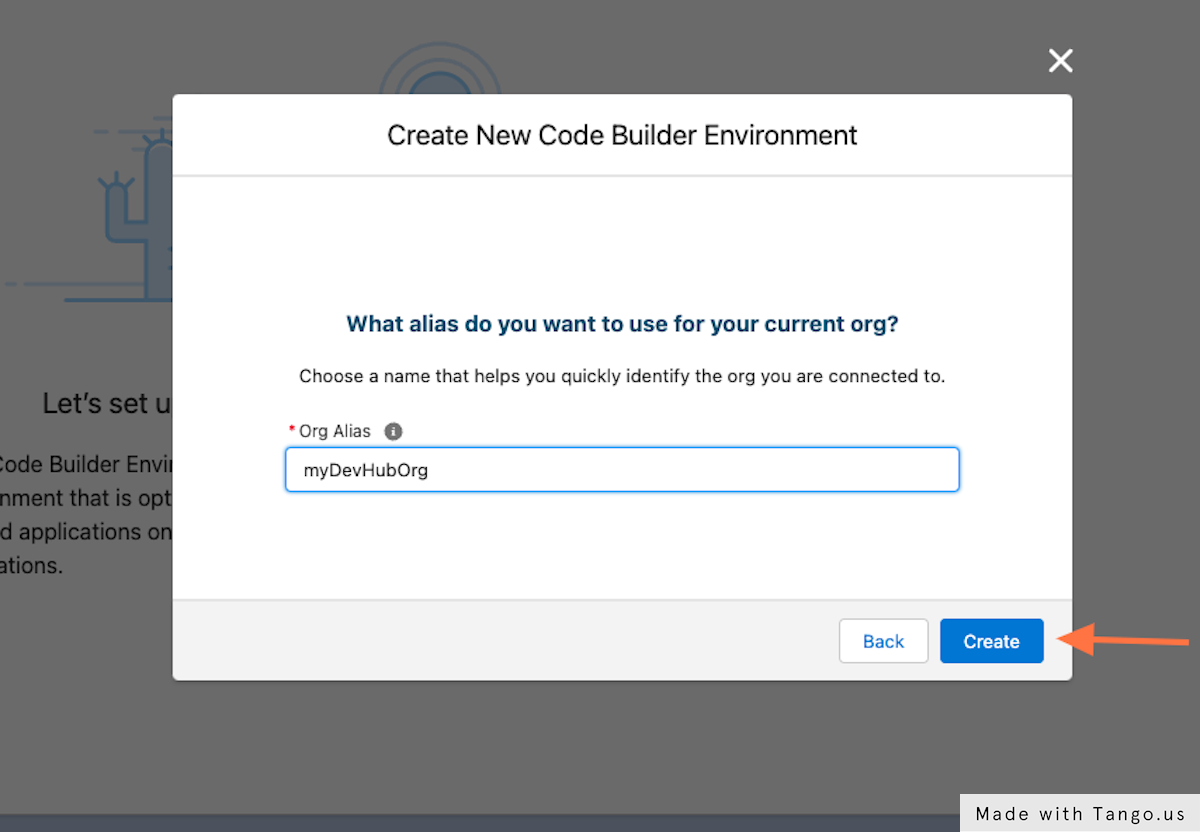
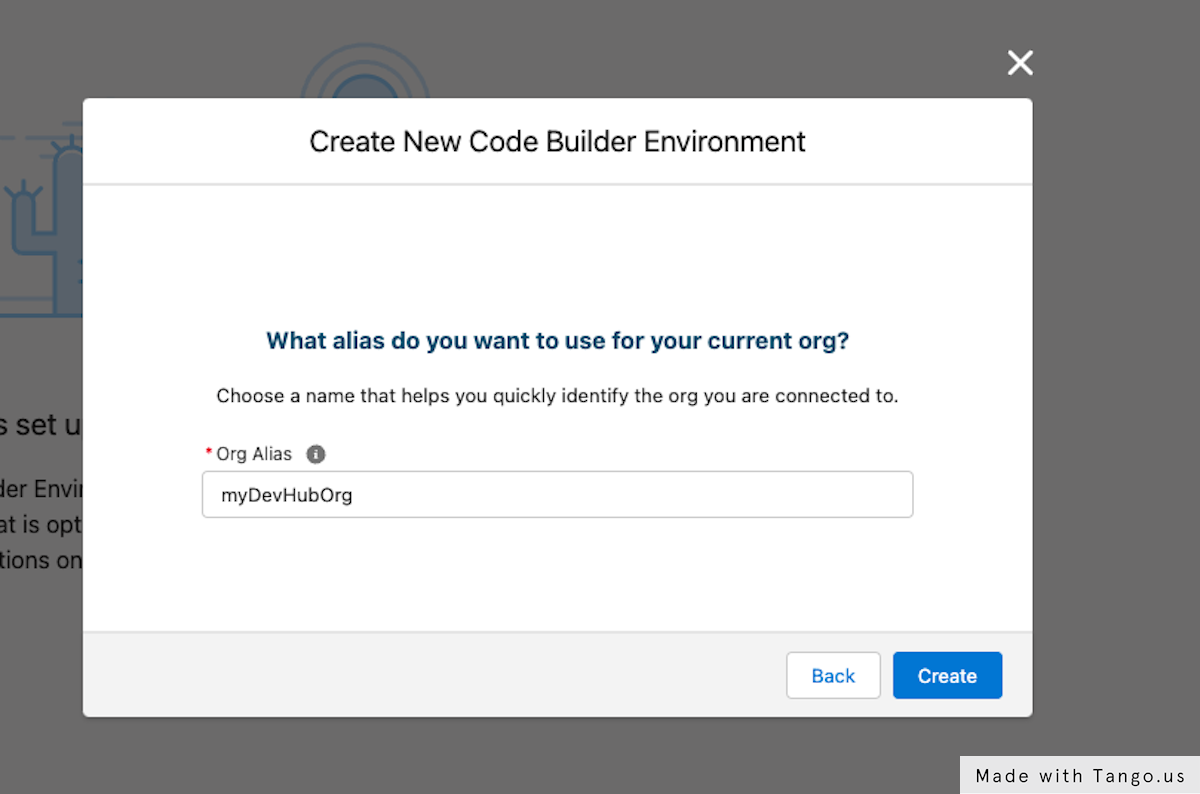
17. Fill in the Org Alias then click Create Button.
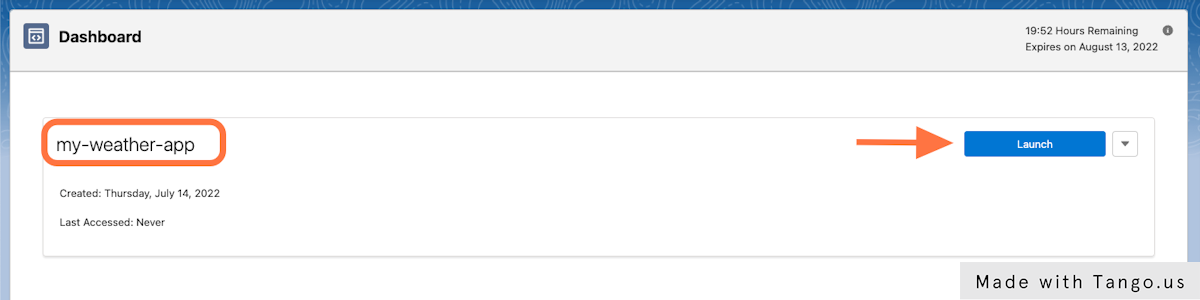
18. It will create your environment will take 1-2 mins then when it's completed you can now lunch your newly create Code Builder Environment.
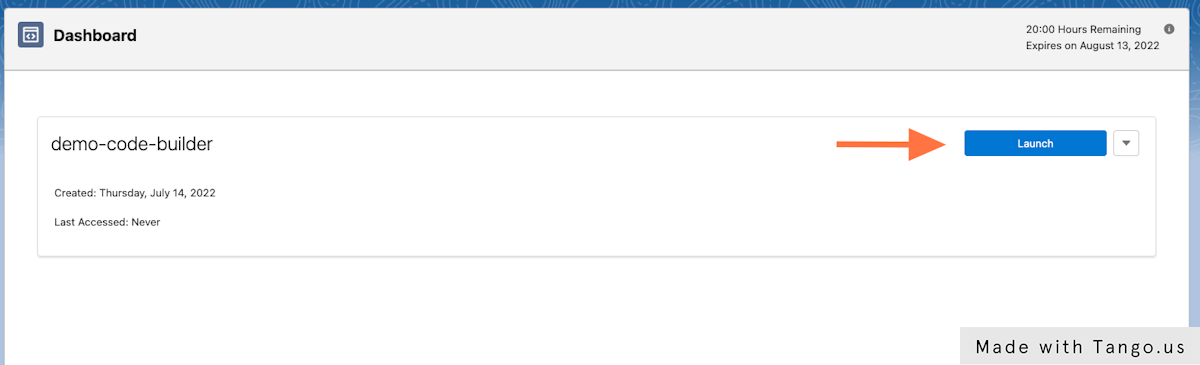
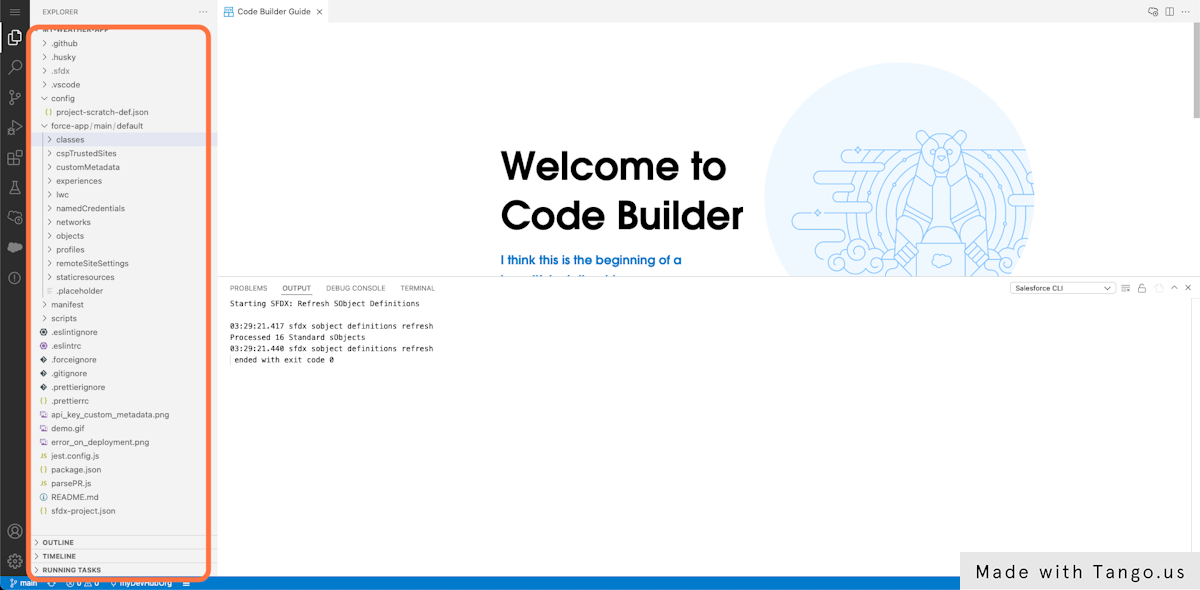
19. Voilà! 🎉 you can now start developing your project on the browser.
Create Environment Using Import from Github option.
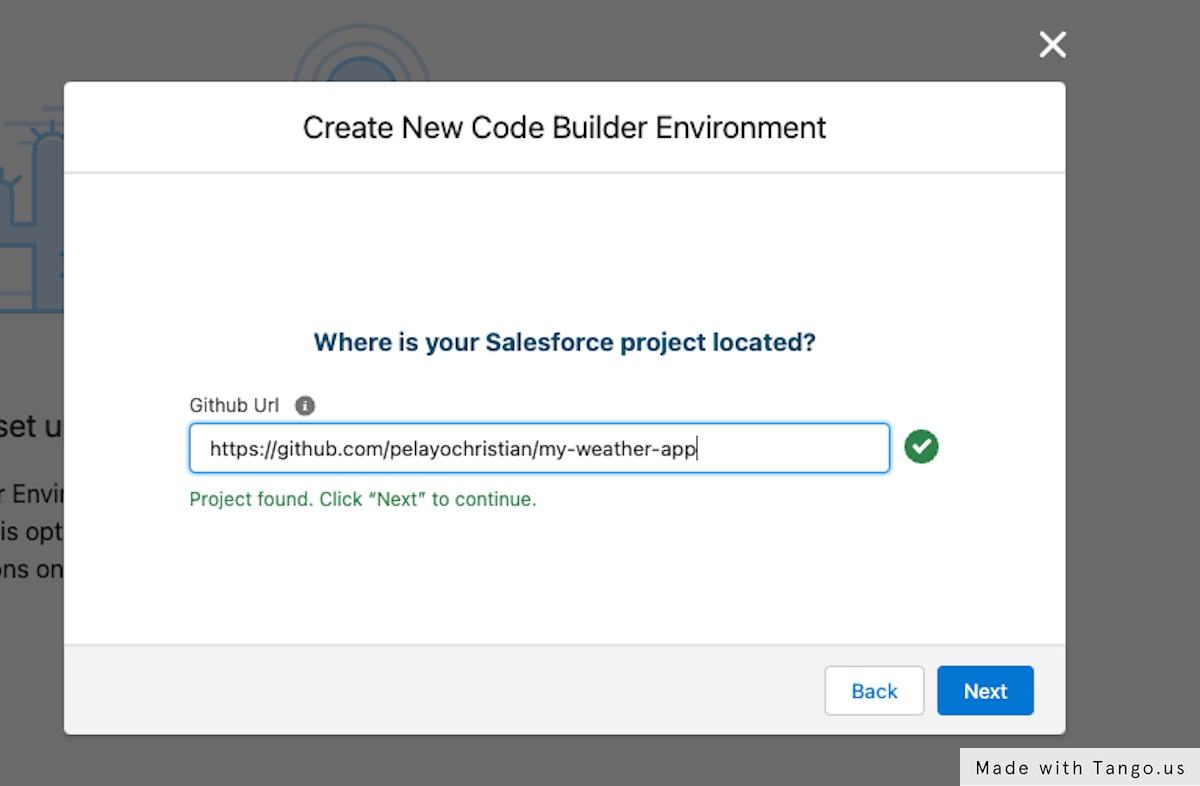
20. Create Code Builder Environment via Github Repository. Click on the Import from Github option.
21. Fill-in your repository link, it will check if the repository is exist in your Github and once it'c confirm check icon will show indication you that you can create project from this repository then click Next button.
22. Click Connect to a Development Org.
23. Allow Code Builder to access the needed resource by clicking Allow button.
24. Fill in the Org Alias then click Create Button.
25. The name of the Code Builder Environment is the name of your Github repository you imported. You can now lunch your environment by clicking Lunch button.
26. As you can see the repository is imported to the New Environment created.
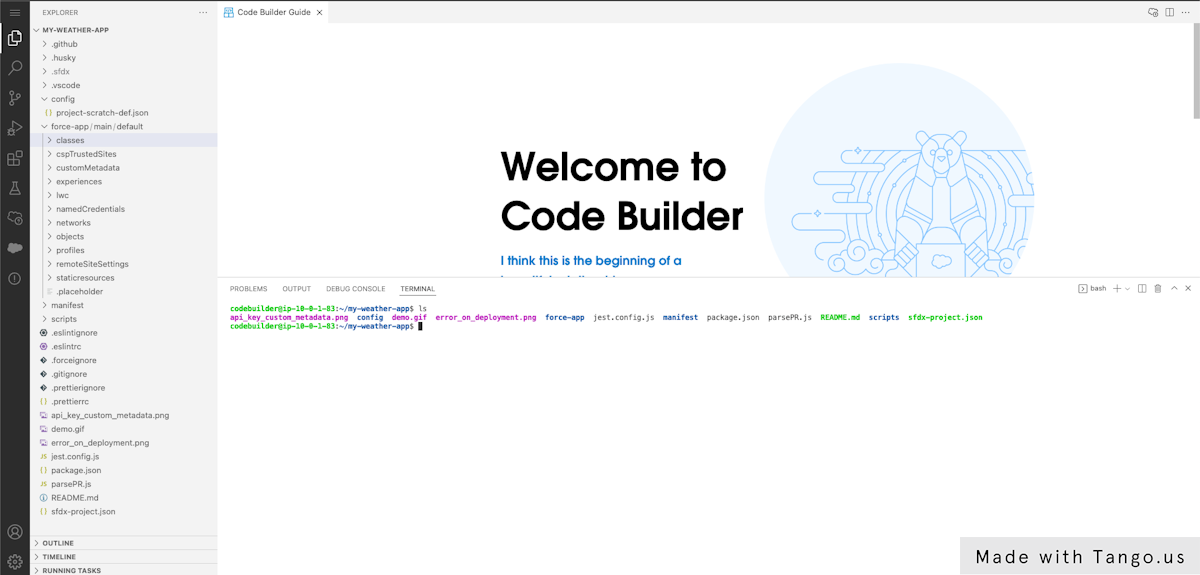
27. One thing that amaze me it that there is integrated terminal where you can do a bunch of things.
Conclusion
Awesome! ! ! Code Builder is a very amazing tooling tool. This will lead our development to a next level. Let get back again when Code Builder in on GA let's see if there's new interesting feature when can use. 😉 Thank you! Happy hacking ... 💻